 I have made quite a few of these and through trial and error I think I finnally have a way that works best for me. These instructions are for a basic car seat canopy. Enjoy!
Materials:
*1-1/8 yd top fabric
*1-1/8 yd bottom fabric
*matching thread
*two large buttons (got mine at Wal-Mart)
*two 1 inch pieces of Velcro (make sure it is not the sticky back stuff or it will gum up your *machine!)
1. CUTTING YOUR FABRIC: Cut one yard for the top and one yard for the bottom. Next cut 4 strips for the straps measuring - 4in. x 10 in. each.
*Idea: If you are making this for a girl you may use coordinating gross-grain ribbon for the straps instead and tie it up like a bow!

2. MAIN CANOPY: Take your top and bottom yard cuts and put them right sides together. If you want, you may round the edges using a bowl or you can leave them square. Pin around the edge making sure to leave a large enough opening so you can turn it right side out. Using a strait stitch, sew all the way around using 1/2 seam allowance. Turn it right sides out!

3. After you have turned out right sides out it is important to iron it flat, making sure all edges are crisps and neat. I go around the edges pulling out the fabric as I go to ensure a nice edge . I use a spray bottle to help with this.

4. Then I sew around the edge of the canopy using a fun squiggle stitch, but zig zag would be fun to!

5. THE STRAPS: I like to use a piece from each pattern of fabric. Place these right sides together and iron. Then pin around leaving an opening and sew using a straight stitch with 1/4 inch seam allowance. Turn right sides out and iron flat. I always use a spray bottle filled with water because I want it really flat. Once ironed flat, sew a strait stitch all the way around. Repeat steps for second strap.
 6. FOLDING THE STRAPS: First decide which side of the fabric you want to show on the canopy. I personally like to use the contrasting fabric. Then you are going to fold it into thirds as shown. Spray heavily with water and iron flat, this will ensure that you have visible crease lines which you will use as a guide when sewing your straps to your canopy.
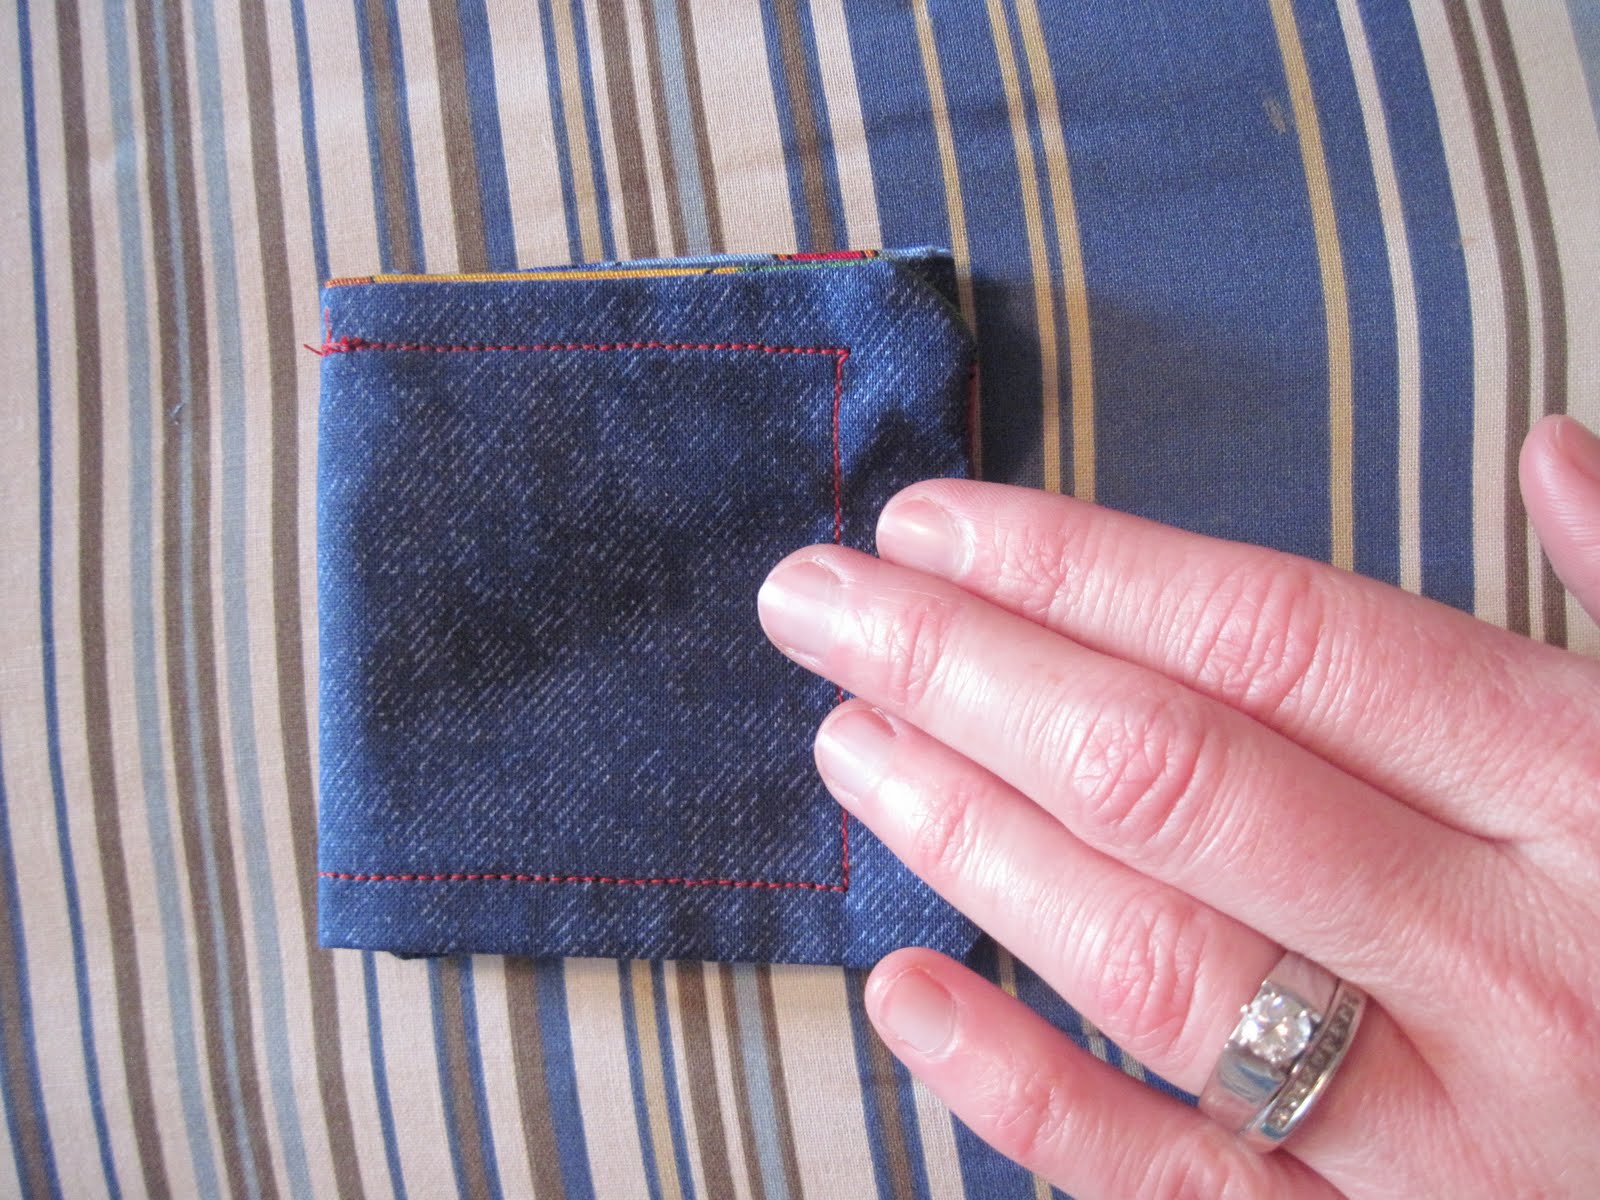
 7. THE VELCRO: Next take your velcro and sew onto straps as shown making sure both pieces of velcro line up.

8. Once you have sew on Velcro you can now sew on your buttons (or you can do it at the very end, it's up to you).

9. SEWING STRAPS ON CANOPY: I found this way to be easiest. Fold the main canopy into fourths (in half and then in half again). Then iron the middle corner flat, so that when you open up your canopy you will have visible lines to follow.


10. Next, you are going to take your ruler and measure 4 inches from the center out to your right for the first strap. Make sure the bottom crease of your strap lines up with the horizontal crease on the canopy and pin. Do the same thing with your next strap only measure 4 inches from the center of the canopy to your left. Pin and sew using the creases you have made with the iron as a guide.

11. They straps should now be directly across from each other unless if it is like this one that I did below. I made it special for a car seat that had a zig zag handle (but if you look at the main picture the straps are strait across from each other!)

12. Hooray you are done!!!!

No comments:
Post a Comment